Preparation and Initial Cleaning
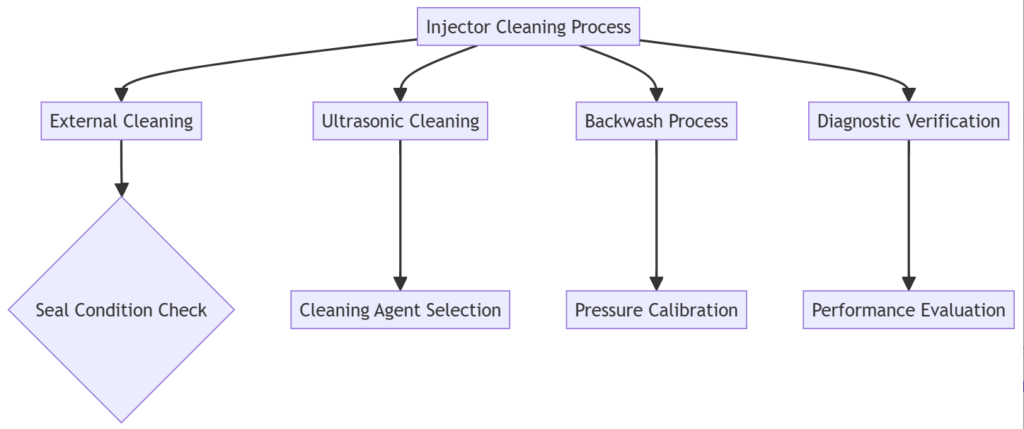
Step 1: External Cleaning
- Immerse the injector in gasoline or cleaning solution
- Carefully remove external oil residue
- Wipe clean with a soft cloth
- Critical Check: Inspect rubber seals for damage
- Replace damaged seals immediately
Professional Cleaning Process
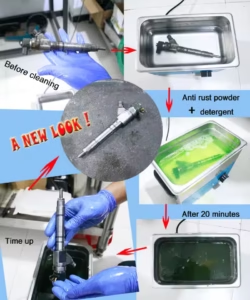
Step 2: Ultrasonic Cleaning Setup
- Pour 2000mL of specialized injector cleaning agent into ultrasonic cleaning tank
- Install cleaning rack
- Place injectors on rack
- Ensure cleaning solution covers rack surface
Step 3: Ultrasonic Cleaning Parameters
- Power on ultrasonic cleaning machine
- Activate ultrasonic function
- Default cleaning time: 10 minutes
- Recommended setting: 600 seconds
Step 4: Backwash Process
- Connect backwash adapter to injector
- Mount on test rack
- Adjust oil pressure: 20-400 kPa
- Activate cleaning key
Step 5: Post-Cleaning Procedures
- Shut down oil pump
- Disconnect injector connection head
- Remove and separately handle seal rings
Detailed Cleaning Techniques
Carburetor Cleaning Method
- Use carburetor cleaning liquid
- Clean injector inlet and outlet carbon deposits
- Apply 12V voltage
- Connect cleaning solution via fine tube
- Use black tape to adjust tube diameter if needed
Cleaning Execution
- One person holds injector
- Another person intermittently activates 12V power
- Continue until spray mist is fine and uniform
Warning Signs of Injector Blockage
Performance Indicators
- Increased engine carbon deposits
- Delayed throttle response
- Sluggish acceleration
- Power reduction
- Increased fuel consumption
- Engine vibration
Precautionary Measures
Dos and Don’ts
- Avoid Aggressive Throttling
- Prevents further injector damage
- Reduces risk of complete injector failure
- Diagnostic Approach
- Identify root cause of blockage
- Prevent recurring issues
- Minimize unnecessary component replacement
Blockage Classification
- External Blockage
- Caused by ash and carbon deposits in combustion chamber
- Treatable with specialized cleaning agents
- Internal Blockage
- Resulted from fuel quality issues
- Requires targeted cleaning solutions
Recommended Cleaning Agents
- Use PNF-type additives
- Ensure high-quality, effective cleaning solutions
Key Recommendations
- Systematic diagnostic approach
- Professional cleaning techniques
- Regular maintenance
- Use high-quality fuel and additives
Technical Insights

Conclusion
Proper injector maintenance requires systematic approach, professional techniques, and understanding of underlying performance issues.
For professional-grade diesel injector cleaning equipment, visit DieselStart.com.

