
As a repair professional, you know how critical it is to maintain diesel common rail injectors to ensure optimal engine performance. However, inconsistent repair quality, lack of proper tools, and low-quality spare parts can lead to repeated failures, dissatisfied customers, and lost revenue. Our OEM-quality injector maintenance process and high-performance products are designed to help you overcome these challenges and deliver reliable repairs every time.
Common Challenges in Injector Repairs
- High Failure Rates: Poor-quality repairs or substandard parts often result in repeated injector failures, costing time and money.
- Time-Consuming Processes: Inefficient repair methods can significantly increase downtime and labor costs.
- Lack of Proper Tools: Without specialized equipment, achieving precise repairs and accurate diagnostics is nearly impossible.
- Unreliable Spare Parts: Low-quality components compromise repair durability and customer trust.
Our Solution: Precision Maintenance with OEM-Quality Standards
Our Bosch-approved maintenance process and OEM-quality products are tailored to address these challenges head-on. By combining advanced tools, high-performance spare parts, and a meticulous step-by-step approach, we help you achieve repairs that meet or exceed factory standards.
Why Choose Our OEM Products & Services?
- OEM-Quality Parts: High-performance components that match or exceed OEM specifications, ensuring durability and reliability.
- Specialized Tools: Advanced equipment like the Bosch EPS815 and EPS708 for precise testing and adjustments.
- Cost-Effective Repairs: Reduce repair time and costs while maintaining the highest quality standards.
- Expert Support: Access to technical guidance and training to enhance your team’s skills and efficiency.
Step-by-Step Maintenance Process
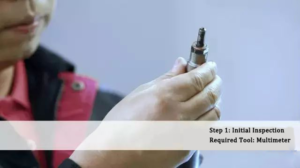
1. Initial Inspection

- Visual Check: Ensure all parts are intact, the injector assembly has not been disassembled, the solenoid valve is undamaged, and the housing shows no severe wear.
- Solenoid Valve Test: Use a multimeter to test the solenoid valve resistance, ensuring it meets OEM standards.
2. External Cleaning
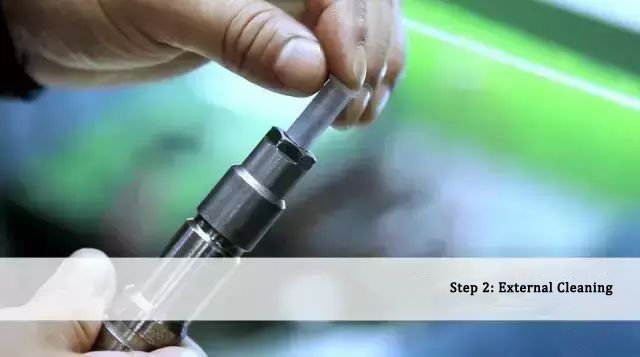
- Remove O-Rings and Gaskets: Carefully remove O-rings and gaskets to prepare for cleaning.
- Seal Oil Holes: Seal the oil holes to prevent contamination during cleaning.
- Surface Cleaning: Use a suitable cleaner and a soft brush to clean the surface. Avoid using wire brushes, as they can damage the injector nozzles.
- Ultrasonic Cleaning: Immerse the injector in a 70℃ phosphate-free cleaner and use ultrasonic cleaning for 20 minutes to remove all dirt and debris.
3. Quick Testing
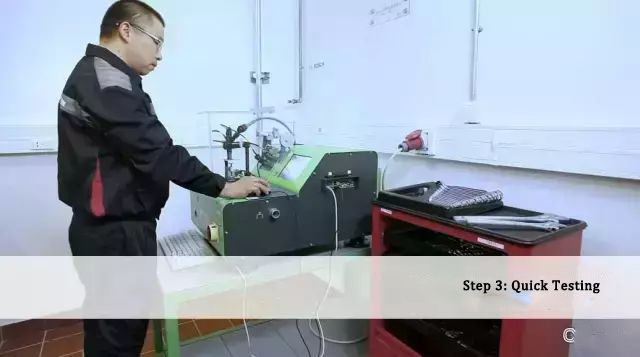
- Using Bosch EPS205: Test the injector for leaks, return flow, and injection flow under various conditions to ensure it meets performance requirements.
4. Disassembly
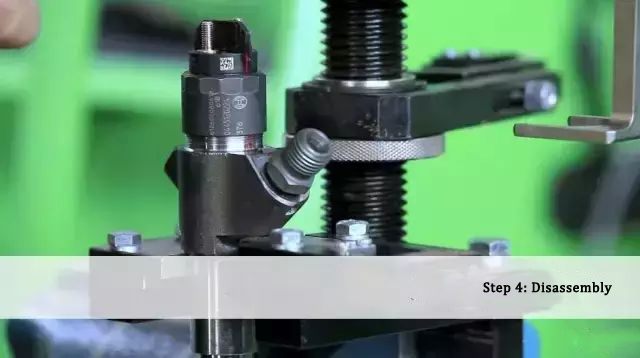
- Secure the Injector: Fix the injector vertically in the disassembly tool.
- Remove the Nozzle: Carefully remove the nozzle.
- Remove the Solenoid Valve: Detach the solenoid valve, paying attention to the terminal orientation. Mark the terminals for accurate reassembly.
- Remove Additional Components: Remove the valve fastening screws, valve components, and high-pressure seals in sequence.
5. Internal Parts Cleaning
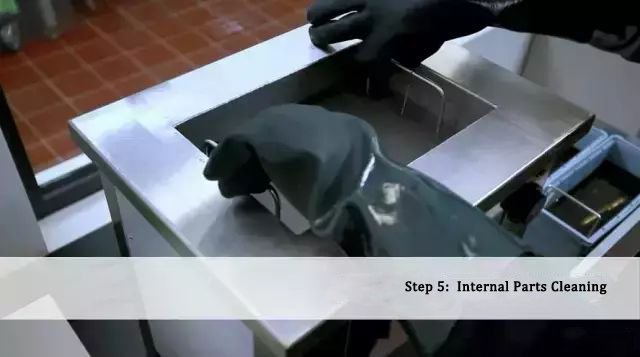
- Ultrasonic Cleaning: Immerse the internal parts in a 70℃ cleaner and use ultrasonic cleaning for 15 minutes to ensure thorough cleanliness.
6. Parts Evaluation
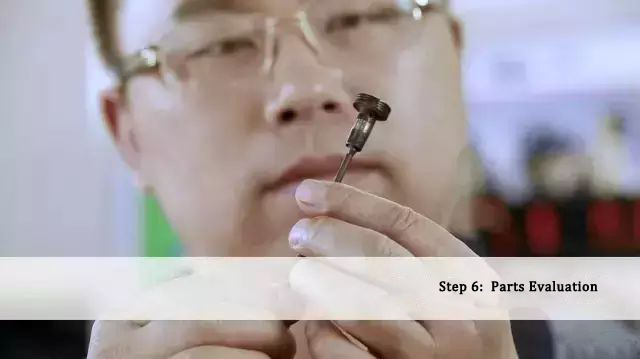
- Inspect Components: Evaluate all parts for wear or damage.
- Replace Faulty Parts: Any parts that fail evaluation must be replaced with OEM-quality components.
- Prepare Repair Kit: Take the injector repair kit from the warehouse and soak it in clean diesel before use.
7. Parts Assembly
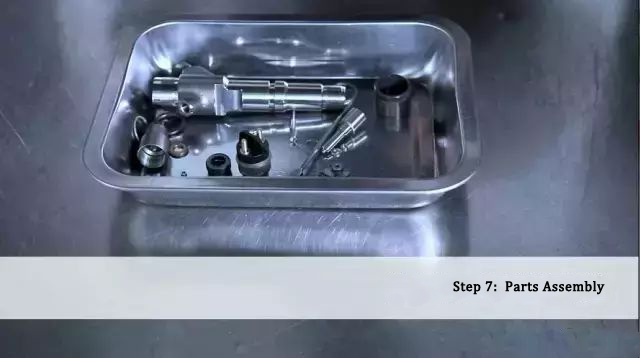
- Dry Components: Use clean compressed air to dry all parts.
- Controlled Environment: Assemble the injector in a dust-free workshop equipped with advanced air purification systems.
- Adjust Mechanical Structure: Use assembly adjustment tools and select the appropriate shims to adjust the injector’s mechanical structure to meet specifications.
8. Injector Testing
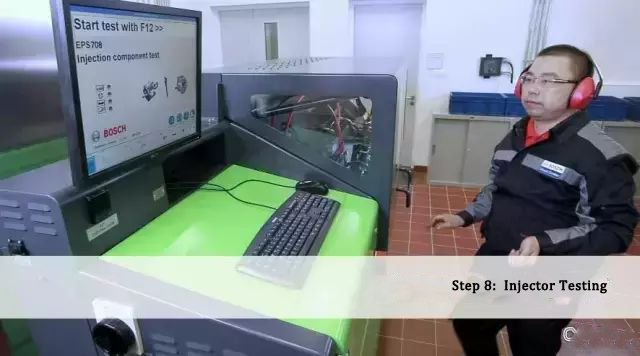
- Using Bosch EPS815, DCI700 or EPS708: Test the injector’s hydraulic performance to ensure it meets factory standards.
- Qualified Technician: Only technicians who have completed Bosch training and are certified should operate the test bench.
- Qualified Repair Standards:
- No external damage
- Worn internal parts replaced
- Mechanical structure precisely adjusted
- Passes hydraulic performance tests
9. Packaging
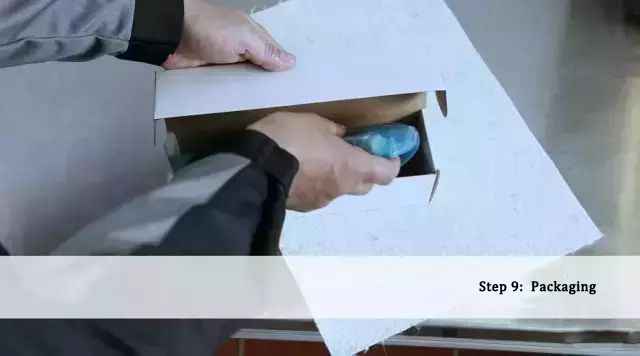
- Final Visual Check: Ensure all parts are complete, the injector assembly is intact, and the solenoid valve is undamaged.
- Solenoid Valve Test: Use a multimeter to test the solenoid valve resistance once more before packaging.
10. On-Vehicle Testing
- Install and Test: Install the repaired injector in the vehicle and conduct a real-world test to ensure it performs flawlessly.
- Customer Delivery: Only after passing the on-vehicle test is the injector ready for delivery to the customer.
Technical Tips for Repair Professionals
- Always Use OEM-Quality Parts: High-performance components ensure long-lasting repairs and customer satisfaction.
- Invest in Proper Tools: Specialized equipment like the Bosch EPS815, DCI7000 ensures accurate testing and adjustments.
- Follow Best Practices: Adhere to standardized maintenance procedures to achieve consistent results.
